Thursday, December 27, 2012

DIY Hula Hoop Circus Tent


It’s been a while, blog friends. I guess I was….doing other things like you do other things (If anyone can correctly identify that song lyric reference I will virtually high five you if you are an internet stranger and actually high five you if you are a person I know)

Let it be known here and now that I understand I am one of the worst craft/inspiration bloggers around. My pictures are almost always from my phone, I rarely detail the steps necessary to complete the project, and I usually spiral off into other subjects.  That said, at least a few people read this and I enjoy the opportunity to write things other than research papers so I'm going to keep doing it.

I made this sweet tent for my niece this Christmas and she seemed to really like it! I was inspired by a few things I saw on pinterest- like THIS and THIS. I decided I wanted K’s to be more circus-y, which is 
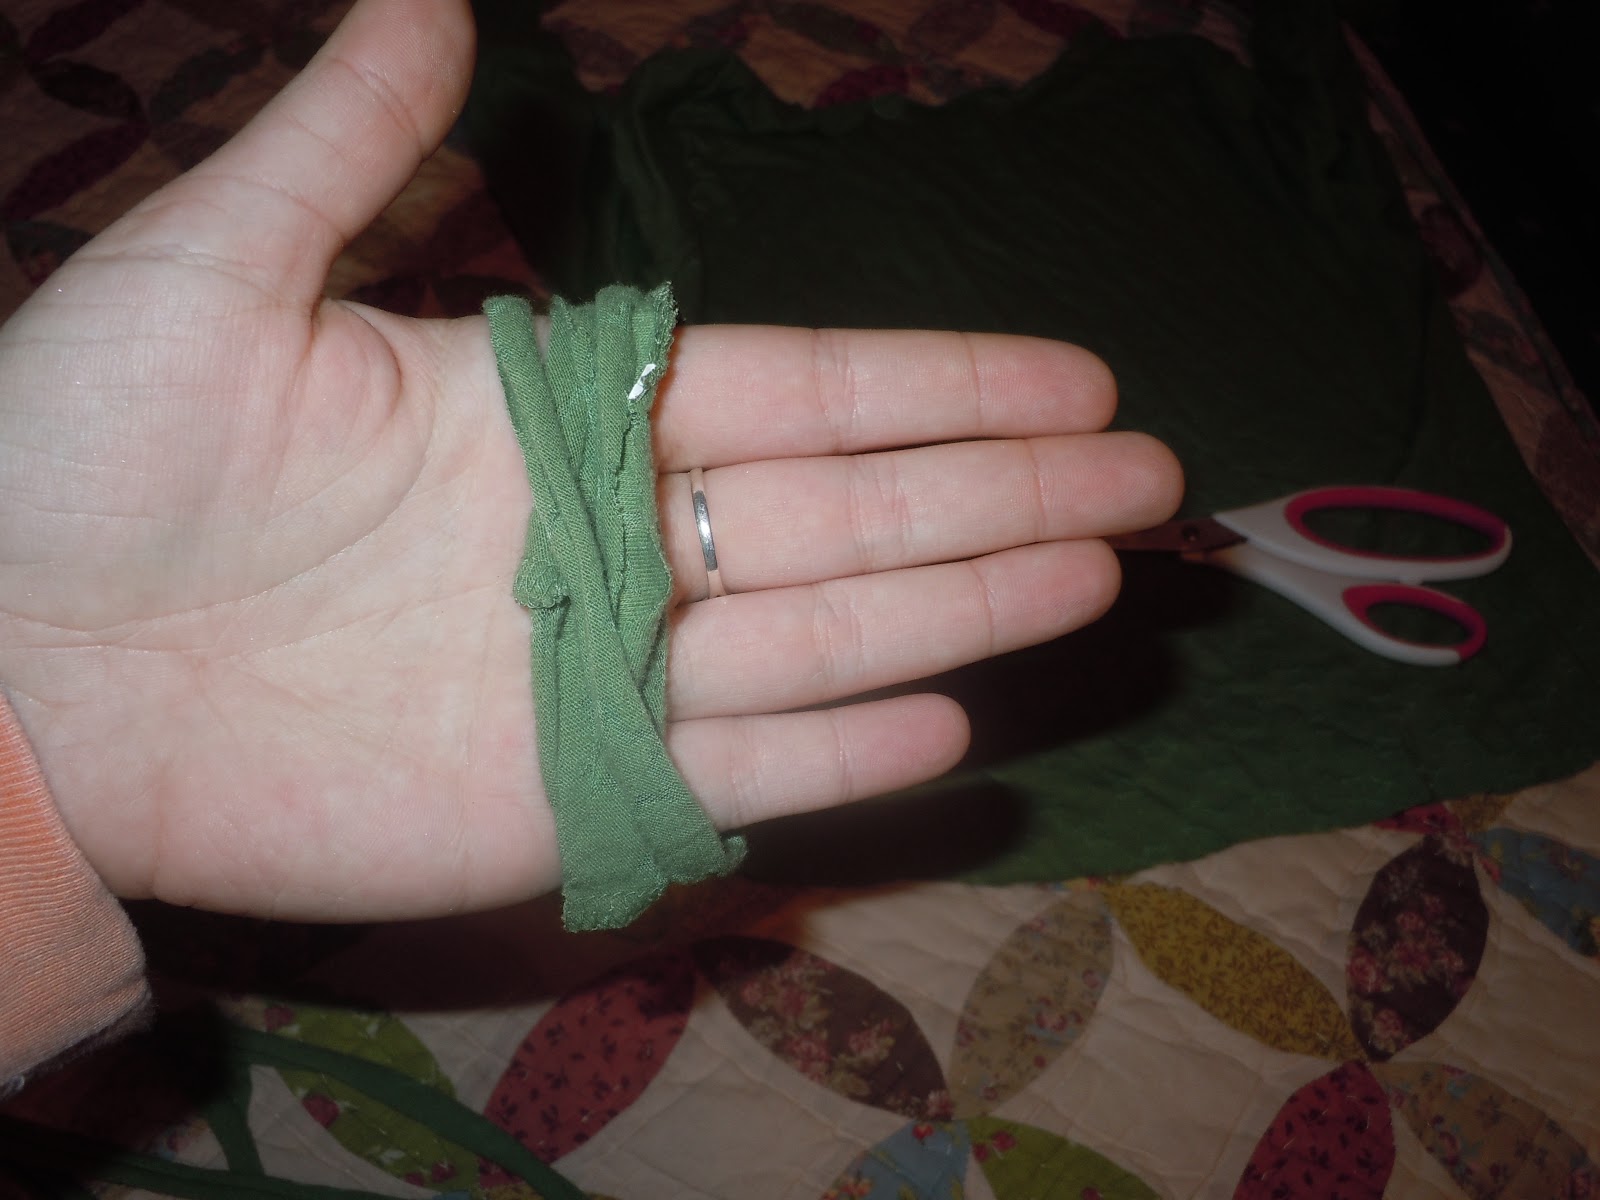
why I added the pennants. Anyway, let me attempt to sort of tell you what I did in case you’re really interested.
Instagram here often?


 The tent itself is made of 2 twin flat sheets (striped to get that circus-y look, or course). I cut one sheet in half and added an extra panel from the other sheet to make it big enough, taking care to keep the hems straight so the stripes were not messed up.  The frame is just a hula-hoop; I got the biggest one I could find for maximum tent fun.  I sewed a flap of fabric all around the circumference of the tent, with velcro on 2 sides to make a sort of long, cylindrical pouch to hold the hoop.  This way, the tent fabric can be removed and washed, which is a big deal for toddler things (or so I am told). The top part is gathered with a “ribbon” sort of deal also made of the striped fabric. The pennants I made out of felt and hand-sewed on (which took forever so I just did it whenever I was watching TV)…..so…those instructions are pretty clear, right? I’m sorry. I promise I’ll do better someday. Maybe. I have many hobbies…and a job…and I’m a career student. Oh! And friends. I have friends. Very important. Very time consuming.

Anyway, the tent seemed to be a big hit with K.  At first she was a bit terrified of it but she warmed up to it and then she just couldn’t get enough of running in and out of it. I gave my brother the necessary hardware to hang it from the ceiling, but you could hang it from a tree outside or something else too. (I got the hook for the ceiling at Lowe's, the one store where I always say "yes, please" when the sales people ask if I need help) Since it is pretty big, hopefully she can enjoy it for years to come.  Then, when she’s probably about 10 or so she’ll think it is super lame all of the sudden but that is totally okay.
Oh hey cutie! 

TA-DA!


Remember the cool reverse applique blanket I made for K the Christmas before she was born?  (why would you?) Check it out HERE. (I actually made one of these for my soon-to-arrive new niece or nephew but I forgot to take pictures, sad!)

Until next time,
Court

PS- Get ready for the craft of all crafts. It's coming. 


Sunday, July 29, 2012

Fun Flower Wall Art


This one has been floating around pinterest for a while now as well.  I’ve seen it done with both fabric and scrapbook paper; I chose scrapbook paper to avoid frayed edges.
It was a lot of fun to do, and pretty simple.  Those of you who are familiar with my freehand painting will understand why this was a good art project for me J.  (Remember my weird bird from art night?) 

Materials:
Canvas
Acrylic paint
Scrapbook paper, cut into petals of various sizes
Mod Podge
Paint brushes

Oh! The mantle.  I almost forgot.  Those three candle holders on the left were all thrift store finds- I just cleaned them up a little and sprayed painted them the colors I wanted.   
A little blurry...I should probably stop using my phone and use my actual camera.


Yikes. Even more blurry....but this way you get the whole wall-area.  More than that table later :)

Tuesday, July 17, 2012

Cookie Sheet Magnet Boards


I’m pleased to report that the new home beautification project is going along swimmingly.  The kitchen was already a light blue/turquoise color, which was fine with me because A) I don’t have the time/money to repaint EVERY room right away and B) I actually wanted a blue/turquoise and red kitchen anyway.  I saw this pin on pinterest a few months ago and made my own version last week. (The button magnets were my only original addition)

Materials:
Cookie Sheets from the dollar store
Spray Paint
3M Command Strips for hanging
Small, round magnets with adhesive backs
Buttons

I won’t bore you with the details; I think you can pretty much tell from the pictures how it is done.  I really like the splash of red in the kitchen!  It was the perfect addition.  I can’t wait to get the dining room table built (did I tell you I’m going to make my own dining room table?.....with some help from my Dad!) and I can throw fun dinner parties for all my lovely friends.
My KitchenAid is one of my most prized possessions. 


Friday, June 29, 2012

DIY Kitchen Mat Tutorial


DIY Kitchen Floor Mat

I haven’t even moved into my new house yet but I’m already working on some fun things to put inside it...despite my internship monopolizing my daylight hours : ) I’ve seen a few tutorials online for floor mats and I have cobbled together some of things I’ve seen along with some ideas of my own to make this adorable little mat!  I wanted something to go in front of the sink, but this would make a great doormat too. This mat has several things going for it: 1. You can use almost any patterned fabric you want. 2. It’s lightweight but sturdy 3. You can wipe it clean 4. It’s fairly inexpensive.

Materials:
2 vinyl flooring squares (I think they are 12”x12”) – mine had adhesive on the back
Duct Tape
1 yd fabric (Mine was a duck cloth type)
Note: I would avoid solids and light colors as the polyurethane will change the color slightly.  Apparently this can be avoided by using water-based polyurethane…but I’ve never tried water-based polyurethane)
Polyurethane
Paint brush
Scissors

Step 1:
Use the duct tape to connect your two squares of vinyl flooring. If your tiles are adhesive on the back like mine were, peel back the adhesive a little before taping.  Tape on both sides to make sure it is secure.  Wrap the tape around the edges. Make sure to make it as smooth as you can.  I’ve seen other bloggers use vinyl flooring remnants at cut it to the size they want.  However, I did not have a remnant handy, and the ones at the store were so big they would have been too expensive (also, what would I have done with all the extra?!)  By using the squares, I had less waste, they were the perfect shape, and they were only about 6 dollars total!
Two Vinyl Squares (look at that lovely faux stone finish :)


Step 2:
Peel the paper backing off completely. If your vinyl doesn’t have the adhesive back, use spray adhesive.  I used both because I really wanted the fabric to stick and I didn’t fully trust the adhesive backing.  Place the fabric right side up (wrong side goes down on the sticky stuff).  Smooth it out and don’t leave any wrinkles!
Yep; That is my hand shadow.

Step 3:
Before you wrap the fabric around the corners, apply one coat of polyurethane.  This way the edges get some of the treatment before you wrap the fabric around.

Step 4:
Once the first coat has dried, flip the mat over.  Cut off excess fabric (leave about 3 inches all around).  Pull the fabric tight; fold the edges over and use duct tape to secure them.  It doesn’t matter that it looks ugly because this is the bottom part.  Fold the corners like you’re wrapping a present.

Step 5:
Flip it back over and give it another coat of polyurethane. Let it dry.  Repeat this process until you’ve done 7-8 coats of polyurethane. At first the mat will feel rough but as you get to the last coats it will feel smoother- this is what makes it waterproof and wipeable. This isn’t exactly a fast project because you have to wait for the polyurethane to dry- I did a coat every day or so (or 2 on a Saturday, how exciting!)

Step 6:
Enjoy your fantastic new kitchen mat!

Did I mention the floors? This house has no carpet.  It's THE BEST!!!

Welcome Home!


Special thanks to my awesome Mom for helping out with the first few steps!

Tuesday, June 19, 2012

This Might Be My Favorite Chocolate Cake Ever

I've now made this cake twice; Once for my Grandfather's 80th birthday two years ago and once for my Dad's 51st Birthday a few days ago. I was sold the first time, but this cake takes a fair amount of dedication (aka time) so it took me a while to make it again. (Note: The recipes themselves aren't very hard, it is just that making the cake requires 4 different recipes!!) This recipe comes from Southern Living and is called Bourbon Chocolate Cake with Praline Frosting; I found it in the magazine a few years ago but you can find it HERE online. Allow me to break it down and tell you why it is so delicious.
Hello, Delicious Cake.

A. The cake itself.
The layers are fairly thin, with a fine crumb (aka it is fairly dense).  It is usually very moist as long as you don't over bake!  The chocolate flavor isn't as intense as some cakes, but I think it is perfect for this one because you get so much chocolate from the....
B. The chocolate ganache.
The ganache recipe is very simple: chocolate chips, cream, butter. Yum Yum Yum. I love that this cake doesn't have the usual buttercream or 7 minute frosting (or canned store bought frosting). The ganache goes in between the layers and on the sides, and it makes the whole cake feel/taste very rich. True Confession: I have a liberal hand when it comes to frosting-application so I made a double recipe and had some left over.
C. The bourbon glaze
I'm not much of a drinker....and I'm not a liquor drinker at all.  However, the bourbon glaze absolutely makes this cake the best.  It gives it a really nice flavor that kind of cuts some of the sweetness going on.  Besides, you get to light the glaze on FIRE and that is pretty fun.
D. The praline frosting
It doesn't get much better than pralines, and praline frosting may be my new favorite of all frostings.  It is simple to make and completely delicious. When it cools it gets harder, like..um...well, pralines. This simple frosting would go a long way in dressing up a plain chocolate cake even without the ganache and glaze.

Consider this a rave review.  Thanks, Southern Living, for this great recipe!

PS- I have to tell you, this is definitely a special occasion cake.  I can't say I'd recommend this for everyday consumption. I think you end up using close to a pound of butter after the whole thing is said and done.  Everything in moderation!

Wednesday, June 6, 2012

Big News! (Plus a yummy popsicle recipe)


The last month or so has been Ron-Swanson-style-cRazy. I defended my thesis, started my last summer of internships, and bought a house.

In my opinion, all of these things are awesome and important, but the house part is definitely going to be the most influential change for this little blog.

I have so much to do! I’ve been pinning like crazy (Thank you, Pinterest, for existing) and have already started a few little projects. I can’t wait to share them, but none are done yet.

In order to make my new home as completely adorable as possible, I’ve been haunting all kinds of homegoods and craft stores lately (AKA I’m doing a lot of window shopping).  I happened across some popsicle molds a few days ago and couldn’t resist a nostalgic purchase.  I always loved having homemade popsicles during the summer as a kid! Las night I whipped up a batch of some peanut butter banana popsicles.  So easy, so delicious!

¾ c milk
1 banana
2 tbsp peanut butter

Blend, pour into the molds, freeze, and enjoy
Oh, did I mention the molds are rocket ship shaped? 

Friday, April 27, 2012

A Brief Break from Blogging

I'll be back in May.  My thesis is calling.

Watch out though, because I've got a whole new reason to be crafty coming up.  You won't believe it :)

Monday, February 20, 2012

Happy Birthday, Baby!

Disclaimer: Blogger is being the worst, and taking out the spaces between something like every 15th word.  You know I dislike typos.  This is killing me.

Having a baby niece gives me a perfect reason to buy all sorts of pink ribbon and whatnot. Making things for babies is extra fun becaus eeverything can be colorful, whimsical, and sweet.   My little niece’s 1st birthday was this weekend, but this time I didn’t make her present because I found something much, much better than the dress I was planning on making her.

You see, a few months ago I was perusing the shelves of a little bookstore in Savannahwhen I found a baby version (BabyLit’s “Little Miss Austen”) of Pride andPrejudice.  I was delighted.  Every girl needs a proper introduction to Jane Austen; the earlier the better.  Thebook is adorable- you can check out a few of the pages on Amazon.  While I was buying the book the owner of the store told me that they had just gotten these books in, and that in the next few months other BabyLit books would be coming out.   I gave my niece Pride and Prejudice forChristmas, and by all reports she loves it. My sister-in-law even sent me picture of her crawling around holding it,which I think bodes well for her academic and emotional success in thefuture…hehe…

A week or so ago I turned my attention to finding a suitable birthday present for the little one.  As previously mentioned, I had been thinking about making her a dress; I’d even already bought the pattern.  However, I suddenly remembered what the bookshop lady said about the other BabyLit books,and I couldn’t resist doing a little online searching.  What I really was looking for was the “LittleMiss Bronte” version of Jane Eyre, which is hands-down my favorite of all theBronte sister’s works.  (Wuthering Heights is just depressing. At least at the end of Jane Eyre Mr. Rochester is still alive).  Unfortunately, the book isn’t coming out until March, and it seemed slightly evil to give a baby a printout of a pre-ordered book for her first birthday. 

I noticed something interesting in the “Customers who bought this also bought…” section, though…a series of books called the “Mini MastersSeries”.  I was intrigued.  As it turns out, they are little board books filled with the paintings of famous artists with accompanying rhyming text.  They have names like Sharing with Renoir, Painting with Picasso, and Quiet Time with Cassatt.  (Let it be known my knowledge of art is notextensive.  All credit for my informal education goes to Whitney, my artist friend) I decided to go with the boxed set, which is all impressionists.  We have Dancing with Degas, A Picnic withMonet, A Magical Day with Matisse, and In the Garden with Van Gogh.  They came in the mail last week, and I was rather impressed.  I fully realize that these gift choices cement me firmly in the “Crazy Aunt” category, but I am supremely unconcerned. 

Anyway, on to the part where it gets crafty.  I wanted to make a card to go with the present, of course.  I know babies don’t really care about cards, except maybe about wanting to put them in their mouths.  I thought I would try to make a card Kayla might at least enjoy touching, and that is why I used lots of different textures and bright colors.  The outside of the card is felt, which will feel soft and be fun for her to touch, I hope.  I used a lighter pink for the elephant body,a little ribbon for the tail, and bigger ribbon for the elephant head.  (I think I’ve discussed the making of ribbonelephants on here before, actually, so I won’t do it again).  The best part is the balloons.  They’re little pink and orange buttons, withribbons for strings.  I used anotherbutton and some elastic to make a little latch to keep the card closed (verysimilar to my ribbon bookmark method) The pictures don’t show it, but inside there are some hearts cut out of different fabric and a little Happy Birthday message.  
Hello, Adorable Elephant.  Has anyone ever told you how cute you are?!


PS- I got the elephant-holding-button-balloons idea frompinterest- but that one was a paper elephant. 
We matched at her birthday party.  Clearly she has excellent taste.

Wednesday, January 25, 2012

Veggies for Breakfast: Green Smoothies


After living without a proper blender for upwards of 4years, I finally received one for Christmas from my  beloved brother and sister-in-law (and baby niece).  Now the word of smoothies is finally open to me (No longer shall I be held captive by Smoothie King andPlanet Smoothie).

My favorite new smoothies to make are green smoothies.  Green smoothies are pretty much just like regular smoothies but with the addition of green vegetables.  With the right balance of fruit to greens, it tastes pretty much just like a regular smoothie but you get all those lovely  vitamins and minerals that green veggies are high in! (High in vitamin C,vitamin E, vitamin K, fiber, iron, calcium, lutein, folate, carotenoids)

Here is my recipe:

1 cup almond milk
1 tbsp honey
1 banana
½ cup frozen peaches
1 cup fresh spinach (loosely packed J )

Blend and enjoy!
So far this is my favorite green smoothie.  Of course, you can use whatever you like, really. I’ve seen a few that have green tea and kale, so I might try that next.Well..maybe next week actually, because right now I’m stuck on peanut butter banana smoothies! (perhaps a future post…)

Tip: When making green smoothies, avoid darker colored fruits like berries because when they mix with the spinach your smoothie comes out brown.  It still tastes okay, but it is not particularly beautiful to look at. Besides, when it is brown I expect it to taste like chocolate and when it doesn’t I am sorely disappointed.

BY THE WAY...

You should go check out my friend Isaac's blog.  He just started it and it is going to be sort of like a manly version of my blog.  Click Here For The Link!


Saturday, January 14, 2012

Holiday Sangria


Pinterest is my new favorite website. (The word “website” sounds so 1999. Also I feel like I’m on “Between Two Ferns”…. “Do you like….websites?”)

It’s a great way to categorize things you stumble upon on the internet.  Recipes, crafts, places you want to go, anything you like.  It’s like a visual filing cabinet full of fun things. 

I found a recipe for “Holiday Sangria” on Pinterest that looked delicious, so I decided to try it.  Our family always has an awesome New Year’s Eve party, and this year was no exception.  You may be thinking “A New Year’s Eve party with your family? Lame.  Don’t you want to go out on the town and get all crazy?”  Well, I’ll tell you two things:

A) My family is awesome, and it does get pretty crazy. (But not in a lampshades as hats kind of way)  Balderdash is no joke, people.  Also, who else can say they have seen their father, their uncle, their great aunts, and their grandparents doing improv in the living room, coached by their cousin and brother?) 

B) The last time I tried to go “out on the town”  I ended up eating chocolate cake in an Applebee’s at 10:30 pm with some of my best friends after fruitlessly searching for dessert for about an hour downtown. (One of our attempts was a swanky restaurant where they weren’t serving dessert “because it was a game day and the menu is different on game day”.  You think people don’t want baklava or raspberry torte on game day?! )


The recipe I found on Pinterest can be found HERE.  It looked really great, but I made a few alterations for the sake of convenience/economy/what was around.

Here’s my recipe:

Court’s Holiday Sangria:

1 (750 ml) bottle of red zinfandel
1 bottle cranberry-pomegranate juice
1 cup orange juice
1 cup simple syrup
1 apple, halved and thinly sliced
1 orange, halved and thinly sliced
1 lemon, halved and thinly
1 cup fresh cranberries
Sparkling water

Add everything together except the sparkling water, and let it chill out in the fridge overnight.  Add the sparkling water right before serving (I think I did about half of a 2 liter bottle- so about 1 liter!).

It was a hit at the party, so I think we’ll have to bring it back next year too!

P.S.- I also made some peanut butter chocolate chip cookie dough dip, with a recipe from Chocolate Covered Katie.

Sunday, January 1, 2012

The Circle of Life (of T-Shirts)


I didn’t post in December at all.  I was on sabbatical in Brazil, living in the rain forest among toucans and those giant sloths you see in National Geographic. Just kidding.  I was just busy. I did, however, find time to get a little crafty with some old t-shirts before heading home for the holidays. 

This first little bit of fun is yet another fabric flower, good for a pin, hair clip, or perhaps as a bunch in a vase.  All you need is an old t-shirt and some scissors!  Basically, you just cut strips, pull them so they get curly on the edges, wrap around your hand, tie a strip around the middle, and cut the loops on both sides.

The previous sentence is an example of how to maximize comma usage.
Cut

Pull

Wrap

Tie

Cut


I seem to be in a craft rut of making scarves and flowers, so for our next feature....a scarf!  My mom saw these on pinterest and she made me a green one.  I liked it so much I made a gray one too!  They are very easy to make.  Just cut off the bottom of a t-shirt (maybe about a foot of shirt), cut off the hem, and then cut strips to about halfway. It’s hip, it’s happening, it’s now.  I’m not saying you should wear it to a fancy dinner, but to the video store? Sure. I find that the relative hipsterness of my apparel is positively correlated with the talkativeness of the video store employees.